Guide to Setting Up Google Analytics 4 Property and Custom Conversion Events
Google Analytics (GA4) is a wonderful platform and tool for those looking to gain additional insight into their website traffic, user profiles and behaviour, as well as specific actions that users take whilst interacting with a website.
GA4 moves from traditional website sessions to an events-based approach, enabling website managers to tailor their reporting and receive even more meaningful data to guide their strategies.
Creating a GA4 Property
Configuring a Google Analytics 4 property is a simple step-by-step process. To create a Google Analytics property, follow the below steps:
- Log in to Google Analytics
- Click Admin in the bottom left corner and check the right account is selected.
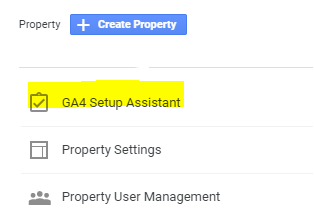
- Click on the Property column and select GA4 Setup Assistant
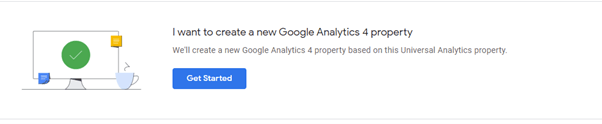
Google Analytics 4 Setup Assistant - Click Get Started
How to populate data if the Setup Wizard did not use your existing tagging
If the Set-Up Wizard has not automatically used your existing tagging, you will have to manually populate the data by following the below steps.
- Locate your tag: Admin → Property (select your new GA4 property → Data Streams → Web → Tagging Instructions → Add new on-page tag
- Copy the entire code that appears – this is your Google Analytics tag
- Add your tag to your website builder
- Add your tag directly to web pages
- Add your tag using Google Tag Manager
Steps three, four and five vary depending on your website. Therefore you may be able to do this step yourself or alternatively seek development team assistance.
What are GA4 custom events, and how do you create them?
Custom events are Google Analytics 4 equivalent of Google Analytics Goals, and can be created in addition to the automatically generated Events.
How to set up a custom event
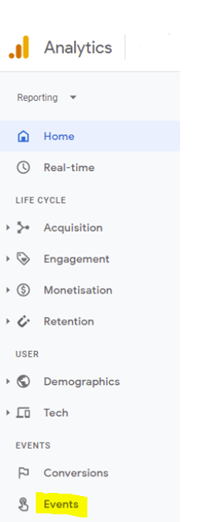
Click Events in the left side navigation. You will see Existing events that have been automatically generated.
In order to create custom events for events such as brochure downloads, subscriptions, purchases, or other user interactions you would like to track, click Create Event.
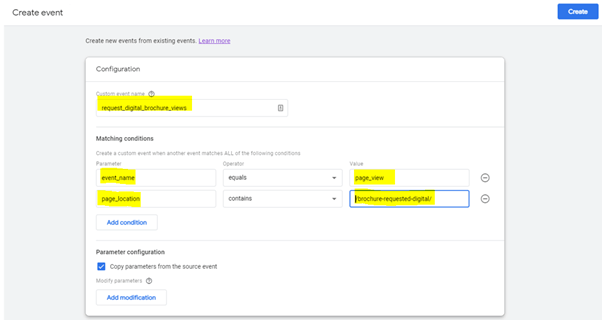
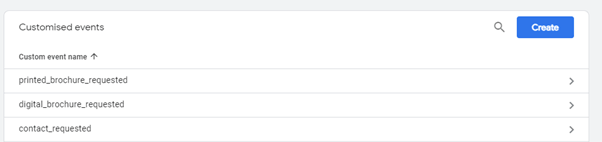
- Name your custom event, for example, to track how many people have requested a digital brochure, subscribed to a newsletter, made a purchase
- Set up conditions that need to be met
It is important to remember that custom names are case-sensitive. Therefore, it is recommended that existing parameters from the drop-down are used before creating custom parameters to avoid mistakes.
Once the custom events have been created, they can be seen in a Custom Events list. These events can be modified at any time by clicking on each custom event.
How to track conversions in Google Analytics 4
To track an event (automatically generated or custom) as a conversion, click Conversions in the left side navigation bar.
Automatically generated events will appear immediately, and custom events will appear within 24h of their creation. However, to speed things up, click on the New conversion event and type in an event name that you would like to track as a conversion event.
Event and conversion event names are case sensitive, so you must write them in exactly the same as your event name. If there is any difference between the two, they will be tracked as separate conversion events.
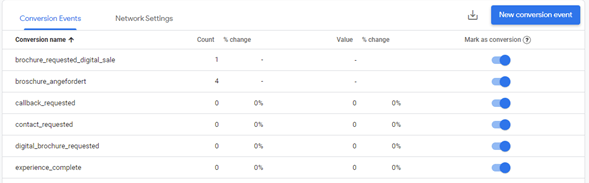
By turning the blue button on, you can mark an event as a conversion.
How to see conversion count change over time
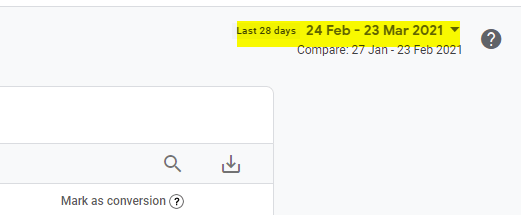
In order to see the conversion Count and Change over time, in the top right corner, select a data range for comparison.
How to create a custom user Audience
To create a custom audience, in the left side navigation Configure section click Audiences and select New Audience.
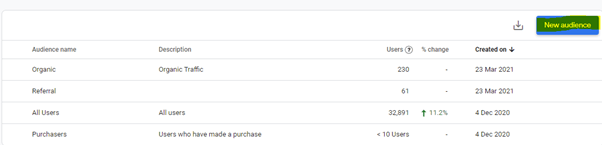
In the Templates section, use the Audiences template to segment users by acquisition method, in audiences such as Organic, Referral, Direct, and Remarketing, depending on your website traffic.
For example, to create an Organic traffic audience, name the audience at the top left corner, select organic as value, and Save the audience.
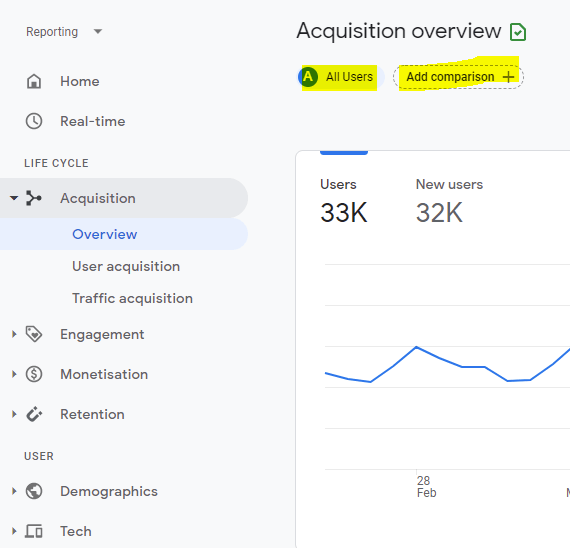
Once the audience is created, it can be used as a filter in the Life Cycle and User left navigation sections by adding the Organic audience as a comparison to All users.
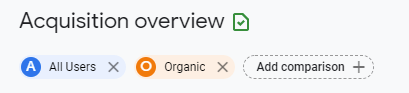
Click Add Comparison, select Dimension = Audience Name, and select Organic audience as the Dimension Value.
Click Apply and the Organic audience will appear under Acquisition, Engagement, Monetisation, Demographics, Retention, and Tech Overview.
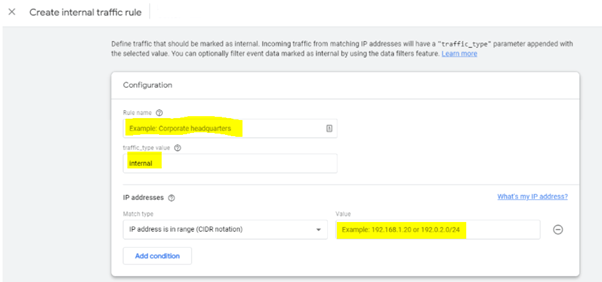
How to set up IP address filters
In order to exclude internal traffic from your company or other third parties, follow the steps below:
- In Google Analytics, open your Google Analytics 4 property.
- Click Data Stream
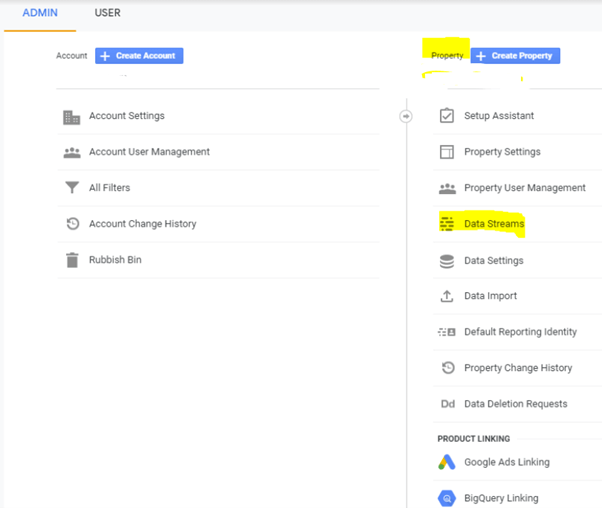
- Select the specific data stream you would like to apply filters to
- Click More Tagging Settings → Define Internal Traffic → Create
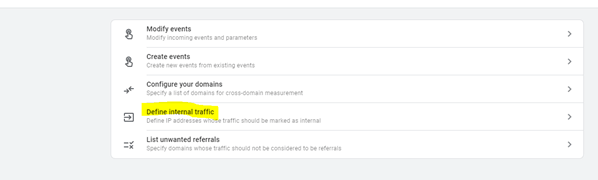
- Fill in the fields with IP address, and IP address name → Create
Once you have set up your Google Analytics 4 property, populated data, and configured the conversions you would like to track, you can view performance data in real-time, or select a time frame or compare your business performance over time.
Make the most of the analytics platform by using the traffic funnel templates, demographics insights, and conversion reports, depending on your business model and needs.


